Start with the Right Wardrobe Depth
A shirt on a hanger needs about 550 mm of clear internal space to hang square. That is the whole reason for the standard 600 mm external depth — carcass thickness and shutter clearance take up the difference.
When a room is tight, the temptation is to reduce this to 500 mm or 450 mm. It is the wrong economy: at that depth, garments sit at an angle, shoulders press against the shutter, and everything creases. If the room genuinely cannot give you 600 mm, the right answer is a shallower cabinet with a pull-out hanging rod running front to back, not a squeezed conventional wardrobe.
- External depth: 600 mm (450–500 mm only with front-to-back rods)
- Long hanging (sarees, coats, gowns): 1500–1700 mm clear
- Short hanging (shirts, trousers folded over): 950–1100 mm clear
- Shelf spacing for folded stacks: 300–350 mm
- Drawer bank height: 150 mm top, 250 mm lower
- Comfortable reach without a stool: up to 1900 mm
Divide the Wardrobe into Everyday Storage Zones
Every wardrobe we design divides vertically into three bands, and the split decides how much of the storage you will actually use.
Everyday Reach Zone
Everything you touch daily lives here: hanging, the top two drawers, the folded stacks you rotate through. If a client tells us they never wear half their clothes, the cause is almost always that half the clothes are outside this band.
Lower Storage Zone
Drawers, not shelves. A shelf at knee height is a place where things go to be forgotten; a drawer at the same height presents its contents to you. This is also where shoe storage and the heavier folded items belong.
Seasonal Loft Zone
Seasonal and occasional only — suitcases, spare quilts, the trunk of wedding clothes. Plan it as such and it works well; treat it as general storage and you will need a stool every morning.
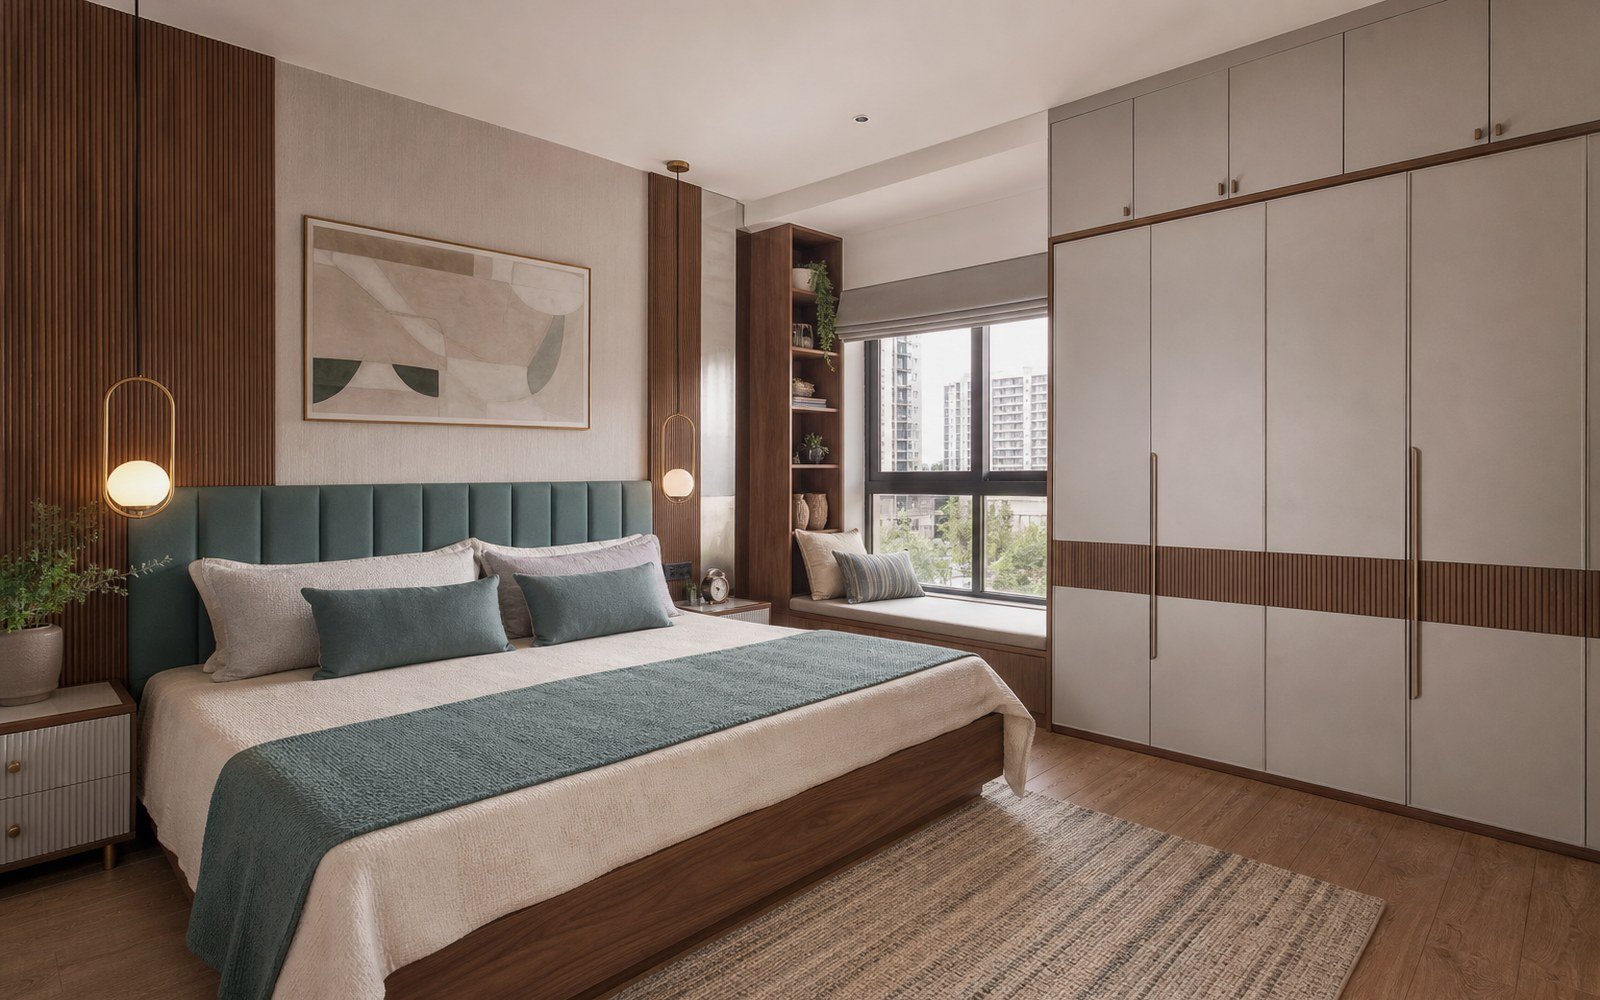
Sliding or Hinged Shutters: Which Suits the Room?
| Sliding | Hinged | |
|---|---|---|
| Space in front | None required — ideal for narrow bedrooms | Needs 600–700 mm of swing clearance |
| Access | Only half the wardrobe is open at a time | Full width visible at once |
| Usable internal space | Loses roughly 80–100 mm of depth to the track | Full depth available |
| Cost | Higher — the track and roller system carries the price | Lower for the same finish |
| Long-term service | Rollers and channels need cleaning; quality of the system decides everything | Hinges are cheap and quick to replace |
Our default is hinged where the room allows the swing, and sliding when the bed is closer than about 700 mm to the wardrobe face. If you do go sliding, spend on the track system rather than the shutter finish — a cheap track on a heavy mirrored shutter is a problem you will live with daily.
Plan Loft Storage for Items Used Less Often
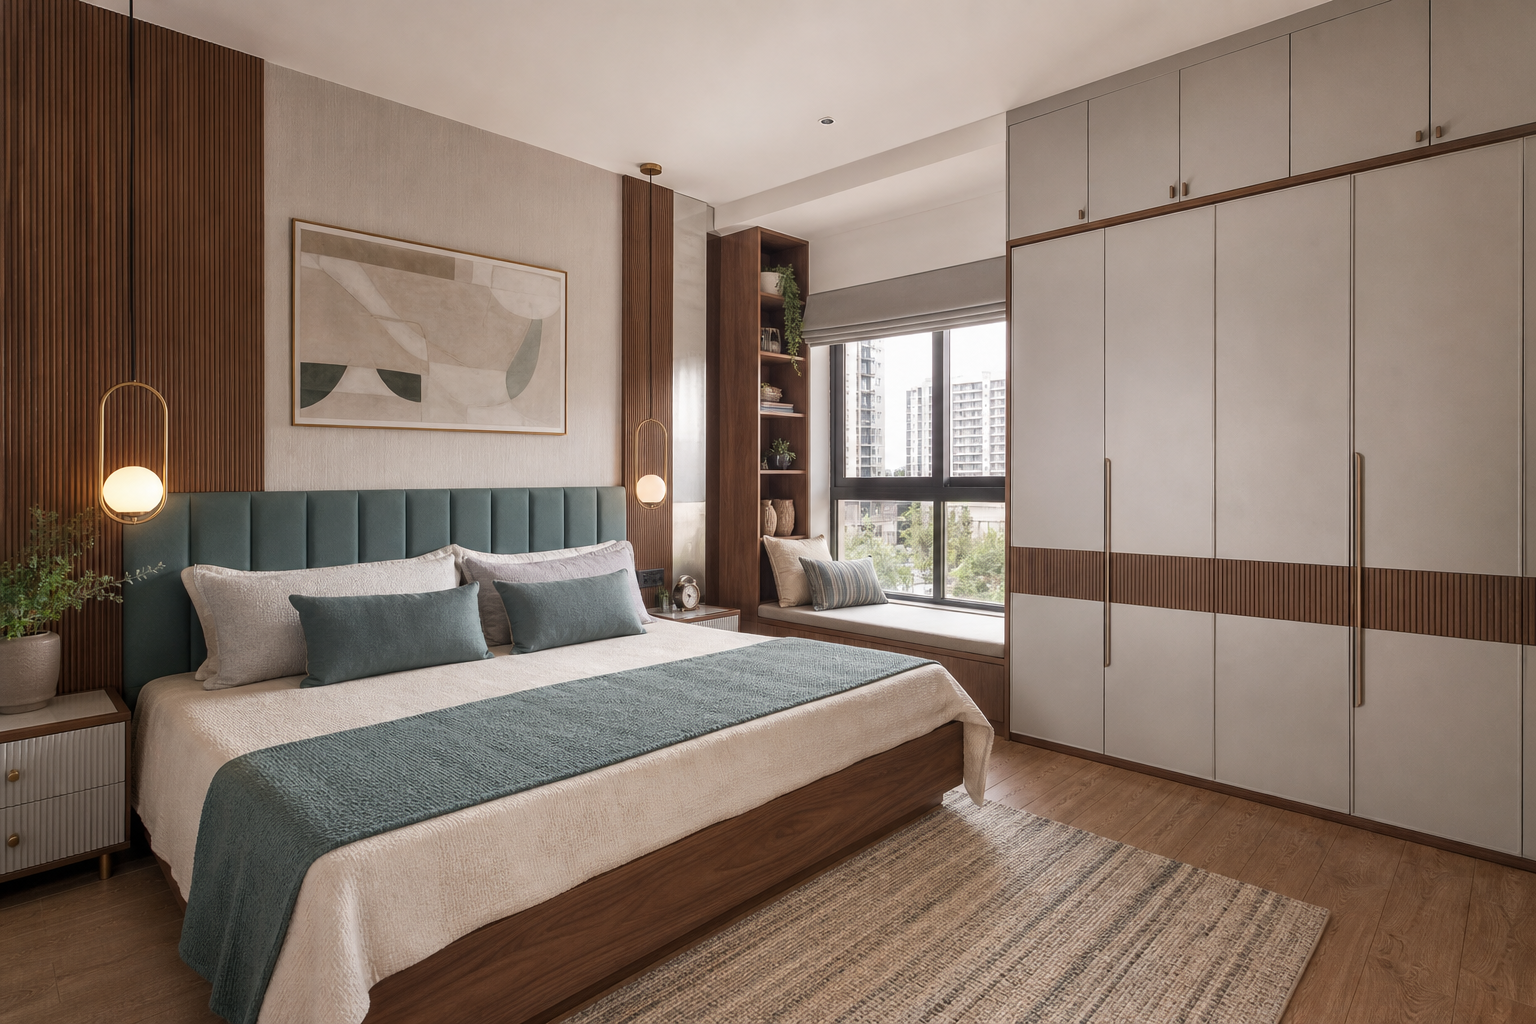
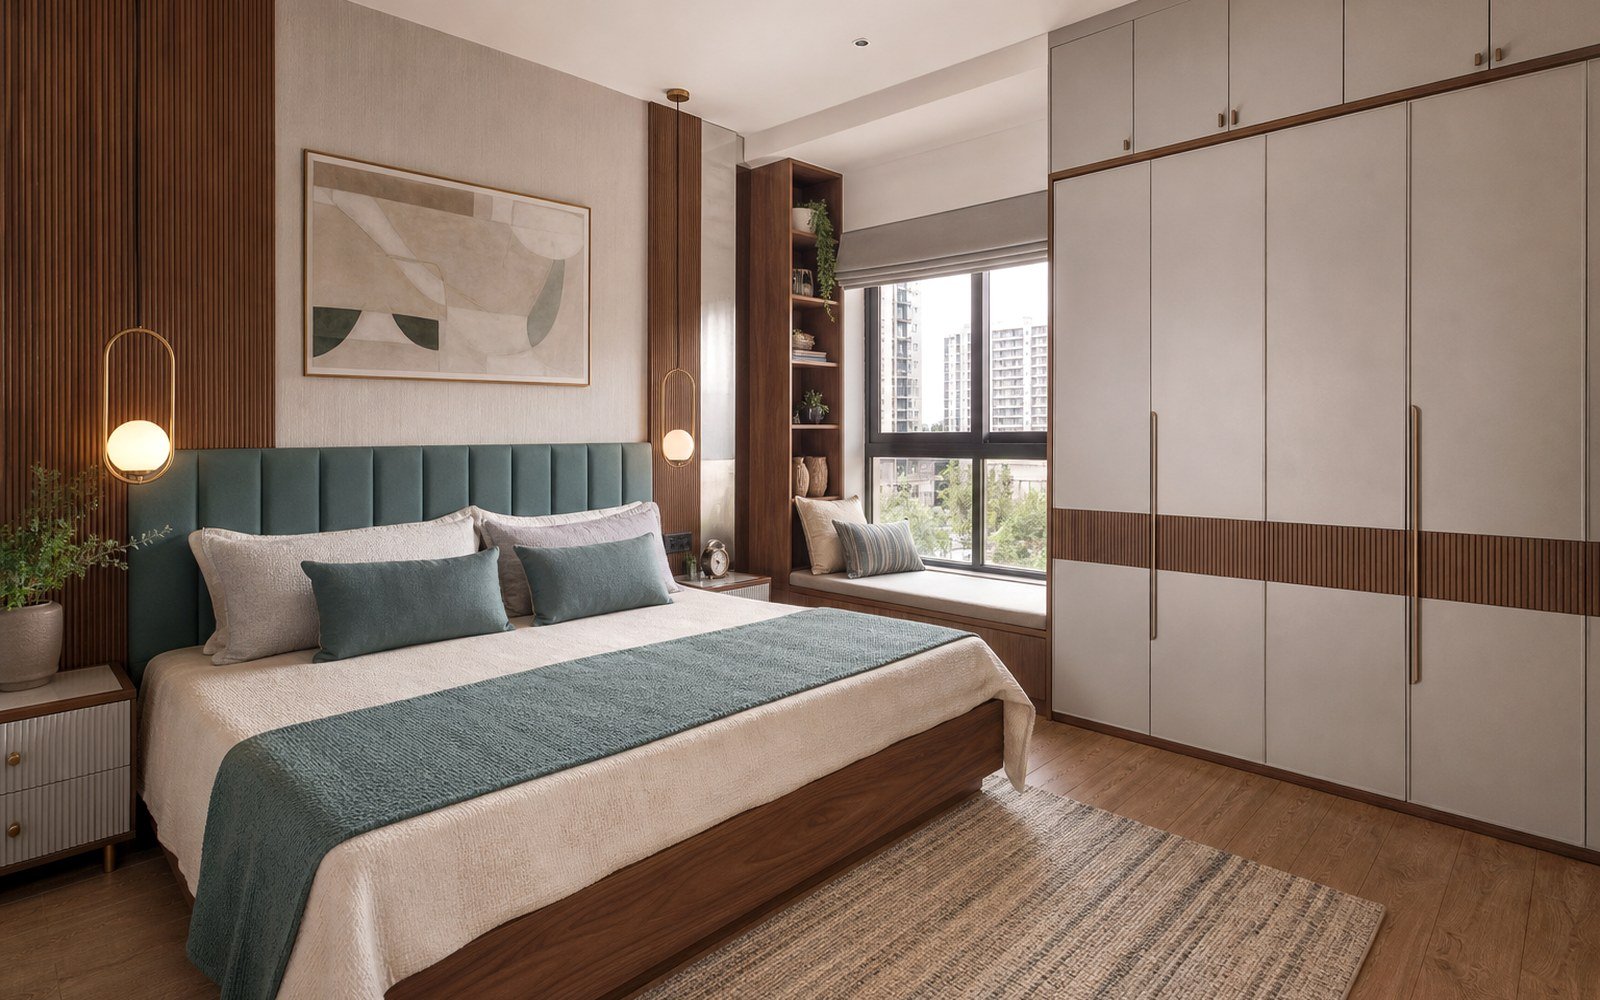
Bengaluru apartments typically give you 2900–3100 mm floor to slab, which leaves a genuine 600–900 mm loft above a 2100 mm wardrobe. Two details make the difference between a useful loft and a dust shelf:
- Separate shutters, split into narrow leaves. A single wide loft shutter is heavy and awkward to hold open one-handed while you reach.
- No open gap above. Take the unit to the slab, or close the gap with a filler. An open top ledge in this city collects a remarkable quantity of dust.
Internal Accessories That Improve Daily Use
Wardrobe accessories are where budgets quietly inflate. In our experience these four repay the money, and most of the rest do not:
- Soft-close drawers on full-extension runners. The back of a partial-extension drawer is wasted space.
- A pull-out trouser or saree rack in a household that needs one — it converts an awkward hanging habit into a tidy one.
- Interior lighting on a door sensor. Inexpensive, and it turns a dark corner wardrobe into a usable one.
- A dedicated laundry pull-out, so a basket stops living on the bedroom floor.
Motorised lift systems, rotating shoe carousels and valet rods look excellent in a showroom and are, for most families, an expensive way to store the same shirts.
Materials and Ventilation for Bengaluru Conditions
Wardrobes against an external wall — particularly a west-facing one that takes the monsoon — are the ones that develop a musty smell and, eventually, a swollen back panel. Three preventions, all cheap at the time of manufacture and expensive afterwards:
- Leave a 15–20 mm air gap between the wardrobe back and the wall rather than pressing the unit flush against damp plaster.
- Use a moisture-resistant board grade for the back panel and the base, not the thinnest available backing sheet.
- Add small ventilation perforations in the back panel of the hanging sections. They are invisible once installed and they keep air moving.
Audit Your Belongings Before the Design Meeting
Before your first design meeting, count what you own. Not approximately — actually count.
- Running metres of long hanging (sarees, kurtas, coats) and of short hanging (shirts, tops).
- Number of folded stacks — each stack is roughly 350 mm wide by 300 mm tall.
- Pairs of shoes that need to live in the bedroom rather than at the entrance.
- Bulky seasonal items — quilts, suitcases, trunks — for the loft.
Bring those four numbers to your designer and you will get a wardrobe built around your life. Skip them and you will get a wardrobe built around a standard drawing, which is how people end up with three metres of hanging and nowhere to put a quilt.
Our team can turn that list into an internal layout in a single sitting — bring your room dimensions and we will draw it with you.